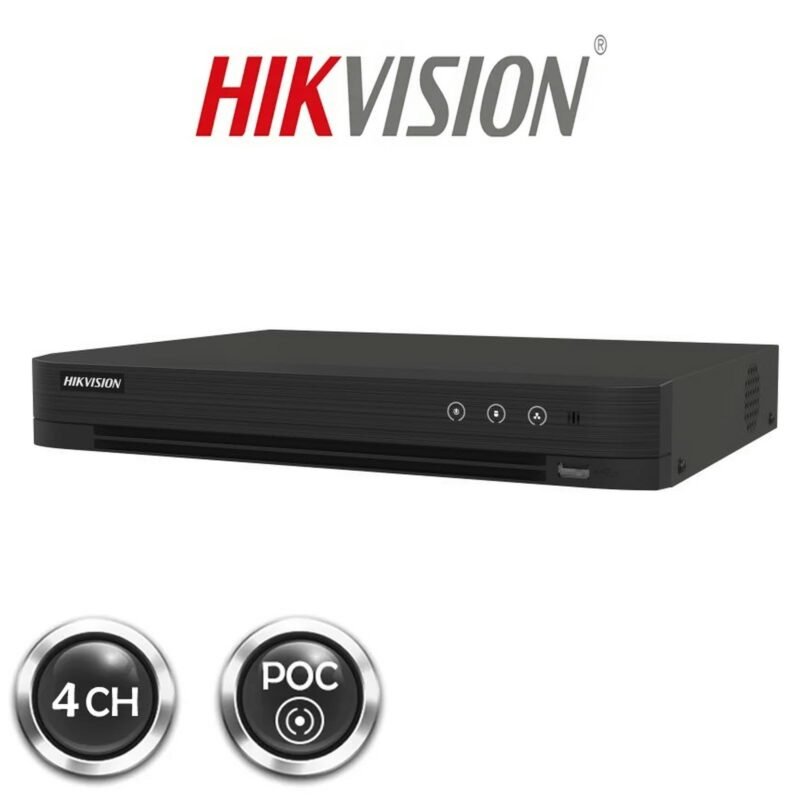
iDS-7204HUHI-M1/P | HIKVISION 4CH TURBO DVR 8MP 4K ACUSENSE POC
Hikvision 8ch DVR 1080p Up to 4MP 1U H.265 POC Digital Video Recorder
Hikvision 16ch DVR Up to 8MP 1U H.265 PoC Digital Video Recorder
Hikvision 4ch DVR Up to 8MP AcuSense Digital Video Recorder
Hikvision 8ch DVR 1080p Up to 4MP 1U H.265 Digital Video Recorder
Hikvision 4ch DVR 1080p Up to 4MP 1U H.265 PoC Digital Video Recorder
Hikvision 32ch DVR 5MP Up to 8MP 1.5U H.265 Digital Video Recorder
Hikvision 16ch DVR 5MP Up to 8MP 1U H.265 Digital Video Recorder
Hikvision DVR or Digital Video Recorder is the heart of any surveillance system. DVRs’ basic function is to record and archive video files, but that’s not all they do. They can also perform advanced tasks like live viewing, remote monitoring over the internet, and motion detection. Hikvision DVRs are designed to work 24 hours a day, 7 days a week.
What is Hikvision DVR?
DVR is an electronic device that records video in digital format to a hard disk drive, USB flash drive, SD memory card, SSD solid state drive, or other local or network mass storage device. They were the equipment that replaced the VCR, VHS, or old VCRs which recorded tapes.
The term includes set-top boxes with direct-to-disk recording, portable media players, and TV gateways with recording capabilities, as well as digital video cameras and IP cameras with those capabilities.
Personal computers are often connected to external video capture devices or internal video capture cards and used as DVRs; in such cases, the application software used to record video is an integral part of the Hikvision DVR. We’re Providing Hikvision DVR 4, 8, 16, 32 channels, POE + POC, Acusense, 4K & etc.
[read more]
What Types of DVRs Does Hikvision Offer?
Hikvision has many types of DVRs, including:
- DVRs are classified according to the number of channels or cameras connected to them. There is Hikvision DVR 4 channel, Hikvision DVR 8 channel, Hikvision DVR 16 channel, and Hikvision DVR 32 channel.
- HDTVI: These DVRs use High-Definition Video Transport Interface developed by Techpoint. Hikvision DVR 7200 series are an example of this.
DVR Setup Step-by-Step Guide
Setting up a DVR for basic recording and monitoring is usually a quick task taking no more than 10 minutes, assuming you already have your cameras installed and connected to the DVR. Let’s discuss the settings.
DVR Hard Drive Installation
Before you set up the DVR to start recording your cameras, you need to have a hard disk drive (HDD) installed.
You only need to open the recorder to physically install the hard drive and connect the power and data cables. It is an easy process that does not require technical skills.
DVR Connections
You should have all your analogue cameras installed and connected to the DVR, make sure you are using good coaxial cables and connectors, and that the DVR is connected to a monitor via the HDMI or VGA output.
That’s the bare minimum to get your DVR up and running locally. An HDMI cable can be used, but you can also use a VGA monitor, although this is no longer recommended.
Hikvision DVR Manual: How to Set Up the Device
After installing the hard drive and connecting the cables, it’s time to set up your Hikvision DVR. All configuration is done using a mouse that can control a menu on the monitor screen. Make sure you have a USB mouse connected.
Check the DVR hard drive
The first thing you need to do is make sure that the hard drive is installed correctly. Click on the screen with the right mouse button and choose ” Menu “.
Click the HDD button to open the hard disk drive settings.
The hard drive should appear in the menu. You must format it to ensure that it is ready for recording images. Select the check box and click ” Init “.
A message appears on the screen to inform you that all data will be deleted from the HDD. Just click ” OK ” to continue.
The DVR formats the hard drive and everything is ready for recording.
Set the Date and Time
Your Hikvision DVR is ready to record, but you don’t want to have the wrong date and time on your footage, do you? So, you must set the date and time.
This is a simple process. Open the settings menu, select the correct date format, and set the date and time. Now your Hikvision DVR can record all cameras with the valid date and time so you can search for footage when something happens.
Set Up Cameras
It is important to configure the cameras to make sure they are connected to the correct channel and have the best possible quality.
The DVR allows you to configure each camera individually to:
- The technology you are using, such as HD-TVI, HT-CVI, AHD, CVBS, or IP
- The information displayed on the screen (OSD)
- Brightness, saturation, contrast, hue, sharpness, and noise removal
- PTZ control and motion detection
Let’s take a look at the camera settings. Open the camera menu, and select the type of technology your cameras use. As described above, the options are TVI, AHD, CVBS, or IP cameras. If you are using Hikvision cameras, the standard technology is HD-TVI, for Samsung cameras, the standard technology is AHD, and other low-resolution cameras are CVBS.
Make sure what technology your cameras use and check the boxes.
The next step is to configure the OSD (On Screen Display), which displays certain information such as date/time and camera name on the screen.
Setup is very easy; just select the cameras and check the information you want to display on the screen and change the name of the camera.
In the “Image” menu you can adjust the camera’s brightness, saturation, contrast, hue, sharpness, and noise removal for better image quality.
If you are using a PTZ (Pan Tilt Zoom) camera, just open the menu to set the parameters you need. Otherwise, just ignore this menu.
And finally, open the “Motion” menu to set the motion detection of the camera.
Hikvision DVRs can analyze the image coming from the camera to check for movement on stage. You can adjust the area where you want the motion to be detected to adjust other parameters such as sensitivity.
These are the fundamental things you need to set up, you can check out the others if you like, but right now we’re going to move on to the next step: recording.
Hikvision DVR Recording Setup
Hikvision DVR recording setup is very simple, you just need to select the cameras and choose how you want them to be recorded.
Click the Record button to open the record settings screen. There are multiple options you can choose from, including continuous or motion recording. Select motion so that the camera video is recorded only when there are movements in front of the camera, which can save your hard drive space.
Remember to set the camera movement as seen in the previous step, otherwise, the camera will not record. You can see when the camera is recording by the icon displayed on the screen.
Hikvision DVR Playback
If your Hikvision DVR settings are correct, you should be able to play the recorded videos. Just right-click on the screen and select “Playback”.
In the playback menu, you can choose the camera, date, and time you want to playback. You can see colours indicating continuous or event recording.
DVR recorders are in force and will continue to be present in the electronic security market.
With the advancement of technology and the massive intervention in the market of Asian brands such as Hikvision, costs have been significantly reduced in DVRs and cameras, which has allowed many users access technology for their companies and homes.
[/read]


