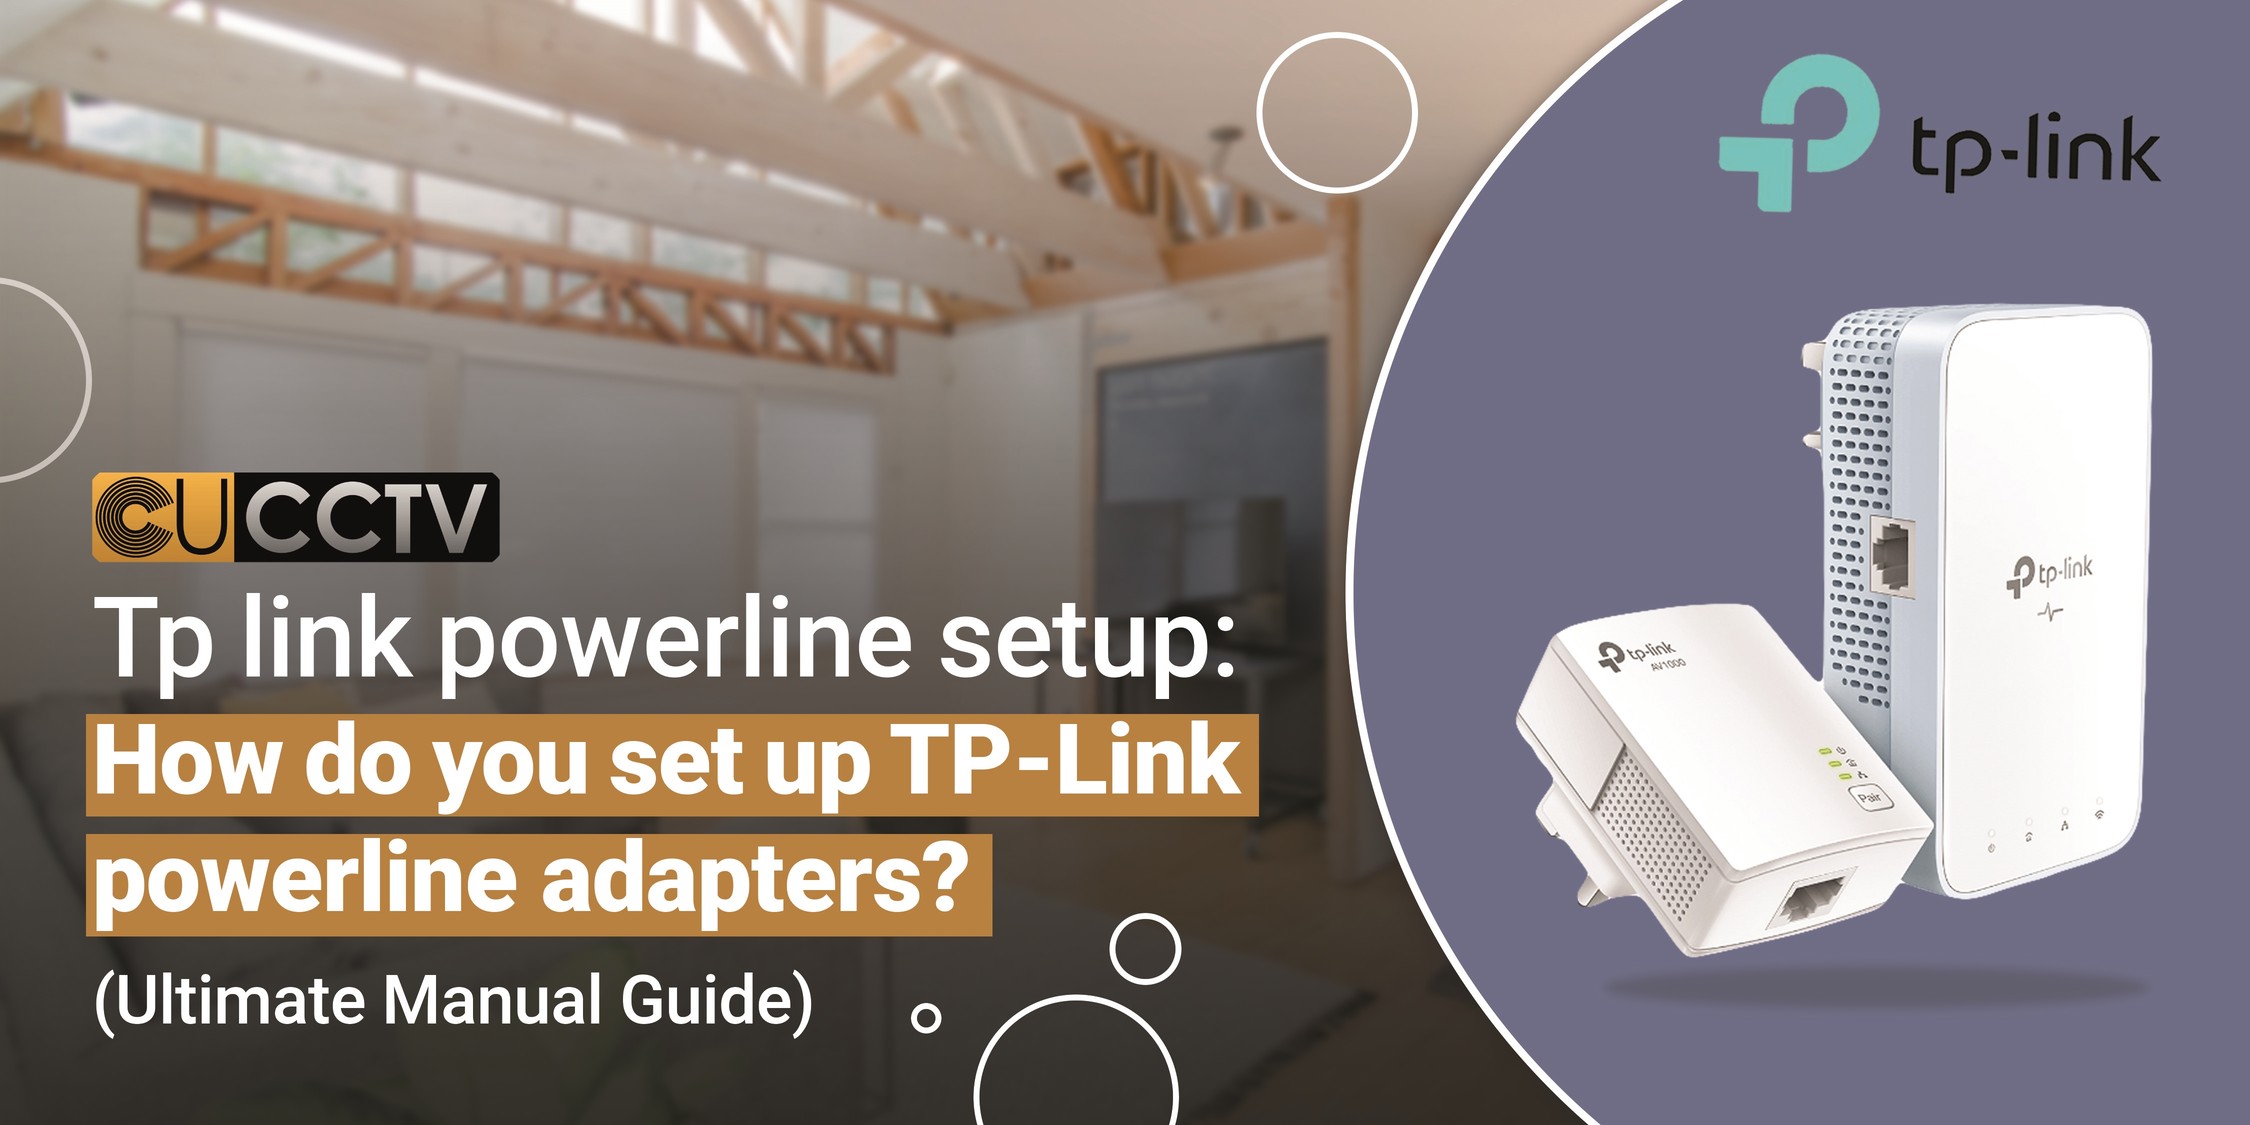
How do you setup TP-Link powerline adapters ? (Ultimate Manual Guide)

Thick walls, large multi-story houses, inaccessible areas… What’s stopping you from having a good Wi-Fi connection?
We are in the age of connectivity and we live in the daily battle to improve the Wi-Fi connection, especially since we have many devices connected at the same time: mobile phones, smart TVs, tablets, computers, video consoles, and smart equipment. Improving our Wi-Fi experience has a solution, but it’s not always easy to choose the most appropriate solution for each case.
In this TP-Link powerline setup guide, we will focus on TP-Link Powerline, whose objective is to expand Internet access using the existing electrical grid as a vehicle for transporting data. This scenario means that its installation does not require additional cables, as the entire process takes place in the electrical infrastructure of your home.
How does TP-Link Powerline work?
To configure a basic TP-Link Powerline network in the UK, at least two adapters are needed: one will serve as a transmitter and the other or others as a receiver/s. The first is connected to the socket next to the router and is connected to it, this is how it sends the signal through the electrical network. The others are linked to the areas where we want to expand coverage so that they receive the information sent by the first and extract the data that comes to them.
Powerline technology is not new, but it satisfies very particular Internet connection/access needs. To ensure TP-Link Powerline adapters work optimally, there are a few considerations to keep in mind:
- Electrical installation: When using the electrical infrastructure for signal transmission, you must bear in mind that it must be unique throughout the house. It is also important to bear in mind that the electrical installation must not be too old and must function correctly, as it will be the communication channel for the equipment.
- Speed TP-Link Powerline adapters follow the HomePlug AV/AV2 standard, which defines the speed they will be able to transmit. A HomePlug AV reaches a speed of up to 600 Mbps in the electrical installation, however, if you need more bandwidth in the UK, you can opt for a HomePlug AV2. Depending on HomePlug AV standard, speed, and stability, user experiences may vary.
- Plug & Play Have you heard this term before? It is one of the great advantages of TP-Link Powerline adaptor technology. It refers to the ease of installation and TP-Link powerline setup, as it requires much more than just plugging it in, plugging it into the router’s LAN port, and plugging the other adapter into the same circuit. It is important that the connection is made directly to the socket, not being able to work connected to electrical extensions or socket strips.
Read more: What is TP-Link Powerline & How it works ?
How to setup TP-Link Powerline
Installing a TP-Link powerline adapter in the UK is easy and can be done in just a few steps. Follow the step-by-step TP-Link powerline setup instructions:
Install your TP-Link powerline adapter
- Connect the main adapter to your router
- Connect the adapters
- Create one WiFi network in your home
Step 1: Connect the main adapter to your router
- Plug the main TP-Link Powerline adapter into an empty socket near your router.
- Then, plug the network cable into a free network port on the router.
- Plug the other end of the network cable into a network port on the main adapter.
Step 2: Connect 1 or more adapters (pair tp-link extender)
- Plug the second adapter into an outlet near the main adapter.
- Wait for the house icon to light up (about 45 seconds).
- Press and hold the pair button on the main adapter for 1 second. You can find this button on the front or on the side.
- Press the pair button on the second adapter within 2 minutes.
- After approximately 30 seconds, the LEDs on both adapters will light up.
- After pairing, simply plug the second adapter into any other outlet in the house.
- Repeat these steps when connecting additional adapters.
Step 3: A single WiFi network in your home
- Plug the WiFi adapter into a power outlet that is no more than 10 meters away from your router.
- After 45 seconds, press the WiFi clone button on the adapter.
- Press the WPS button on your router after 2 minutes.
- The WiFi data (name + password) will be cloned automatically.
- Plug the adapter into any outlet in the house.
- It does not work? Then enter the details manually using the TP-Link Utility software.
Now that we know what the general procedure looks like, let’s take a look at the most popular TP-Link Powerline adapters in the UK and how to set them up.
TP-Link Powerline adapter setup (TP-Link TL-PA4010)
With powerline adapters, you use your existing power lines for data transmission. If wired or wireless network options aren’t available, try powerline. Here we use the TP-Link TL-PA4010 KIT.
We have the kit here with two adapters because you won’t get very far with just one. In addition to the two Powerline adapters, there are also two LAN cables, which you will also need. First, plug the two adapters into two sockets that are as close together as possible.
In order to connect the two TP-Link Powerline adapters to each other and establish an encrypted connection, we have to pair them. To do this, press the pairing button on the first adapter for about 1 second until the LED starts to flash. You then do the same on the other adapter. This way you can also add more adapters. If the middle Powerline LED lights up continuously, the connection is established. You can then distribute the adapters to your desired sockets. They will remain connected even if you pull them out now.
Now connect one TP-Link Powerline adaptor to your router using a LAN cable and plug it into the socket. Connect the second adapter to the device you want to connect to and plug it in as well. This can be a computer, a television, or a games console. If you want to connect multiple devices, simply connect a switch.
Setup TP-Link Powerline adapter: TP-Link TL-PA4010P PLC
If you want to improve your home Internet connection with a PLC kit in Manchester, we recommend the TP-Link TL-PA4010P PLC kit that you can connect by following this step-by-step guide.
The TL-PA4010P PLC kit is a device that takes advantage of the electrical installation of the house to transmit data at high speed at the same time as the electrical energy, without any additional wiring or drilling. In addition, thanks to its built-in plug, it allows not have to waste any electrical outlet.
Features of the TP-Link TL-PA4010P PLC kit
The adapter supports a data rate of up to 600Mbps. With this high-speed connection rate, this TP-Link Powerline adaptor allows you to set up a high-speed home network using your home’s existing electrical wiring. Simply plug the adapter into an ordinary power outlet to extend your existing Cable/xDSL broadband connection or LAN network to any other power outlet in any room within your house in the UK.
Just keep in mind that this powerline adapter works in pairs tp link extender. You need to plug a TP-Link Powerline adapter into a power outlet for each computer and connect the Powerline adapter to the computer’s LAN card with an Ethernet cable. Another PLC adapter connected to the Cable/xDSL broadband is also required to extend the broadband connection or Internet browsing.
With a clean power line, the distance between two PLC adapters can reach a maximum of 300 meters, but the actual distance may vary due to the environment. Below we show you how to do the TL-PA4010P Powerline adapter TP-Link setup and the hardware connection mechanism.
Connection instructions:
we recommend that you follow these connection rules to ensure optimal performance of the TP-Link Powerline adapter and significantly improve the transmission capacity of the network:
- Plug the Powerline adapter directly into a wall socket, not a power strip.
- To take full advantage of the Powerline adapter’s filtering function and improve data transmission on the network, always plug the power strips into the Powerline adapter’s integrated outlet.
Hardware connection – computer
In the case of computers that you want to network using the TP-Link TL-PA4010P PLC kit, each of the computers must be properly connected with such a PLC adapter via an Ethernet cable (RJ-45).
Here are the steps to properly connect the Powerline adapter to a computer:
- Connect one end of the supplied Ethernet cable (RJ-45) to the Ethernet port on the Powerline adapter.
- Connect the other end of the Ethernet cable (RJ-45) to the computer’s LAN port.
- Plug the Powerline adapter into a wall outlet next to the computer.
- Turn on the computer.
- Check and confirm that the Power LED and Ethernet LED on the Powerline adapter are on.
IMPORTANT: Do not connect the PCL adapter to any extension cords, power strips, or surge protectors, as these can degrade network performance.
Hardware connection – Internet
In this section, we describe how to connect the TP-Link Powerline adaptor to the existing ADSL broadband connection through the ADSL Ethernet port.
Follow the TP-Link powerline setup instructions below to connect the Powerline adapter to your ADSL broadband connection:
- Connect one end of the supplied Ethernet cable (RJ-45) to the Ethernet port on the Powerline adapter.
- Connect the other end of the Ethernet cable (RJ-45) to an available Ethernet port on the ADSL broadband router.
- Plug the Powerline adapter into a wall outlet next to the computer.
- Turn on the computer.
- Check and confirm that the Power LED, Ethernet LED, and Power Line LED on the power line adapter are on.
Important tips on TP-Link Powerline adapter set up
To avoid problems, you should note the following:
- The two TP-Link Powerline adapters should run over one circuit to avoid severe performance losses. A connection may also be possible via several circuits, but the speed will decrease noticeably.
- Powerline adapters should always be plugged into a wall socket and not into multiple sockets. Why? Powerline networks are extremely susceptible to interference. Power strips themselves and other devices plugged into the power strip can affect the connection. The only exception: If you want to pair the adapters and there are not enough free sockets nearby.
How to reset the TP-Link powerline adapter?
Are you not able to establish a good connection between your TP-Link powerline adapters in the UK or are you not able to access the internet on your computer via the adapters? In many cases, resetting the adapters solves the problem. Here’s how to reset the adapters.
Reset to default
TP-Link Powerline adapters are reset using the reset button on the devices. Please note that the base adapter connected to the router cannot be reset. This adapter does nothing but passes the signal from your router to the other adapters. Therefore, you only need to reset the additional Wi-Fi points or network points.
Note: For both methods, it is important that the powerline adapters are plugged into the socket.
To reset via the software
- The adapter or adapters to reset
- A paper clip
To reset with the reset button
- The adapter or adapters to reset
- The TP-Link software
- A computer connected to the same network as the powerline adapters
Reset the TP-Link Powerline adapter using the button on the device
- Find the reset button on the powerline adapter. It is located on the bottom or on the side of the adapter. The button can be seen in a small hole.
- Use a paper clip to press and hold the reset button for at least 10 seconds until the lights start blinking. Did you do that for less than 10 seconds? The adapter is then only restarted.
- Wait for the lights on the adapter to stop blinking. The adapter has now been reset.
Conclusion
TP-Link Powerline technology is a quick and easy way to “spread” data and Wi-Fi access to every corner of your home in the UK, eliminating the need for expensive wiring or unnecessary drilling.
TP-Link has Powerline equipment that includes Plug and Play, automatic Wi-Fi sync, and Ethernet ports for connections that provide unique connectivity experiences as if you were connected directly to the router.
In this article, we went over the general setup procedure, popular TP-Link Powerline adapters in the UK and in Manchester, and step-by-step instructions on how to set them up. The products mentioned in this article are available here, so you can buy the desired product and come back to this manual in order to install your adaptors.


