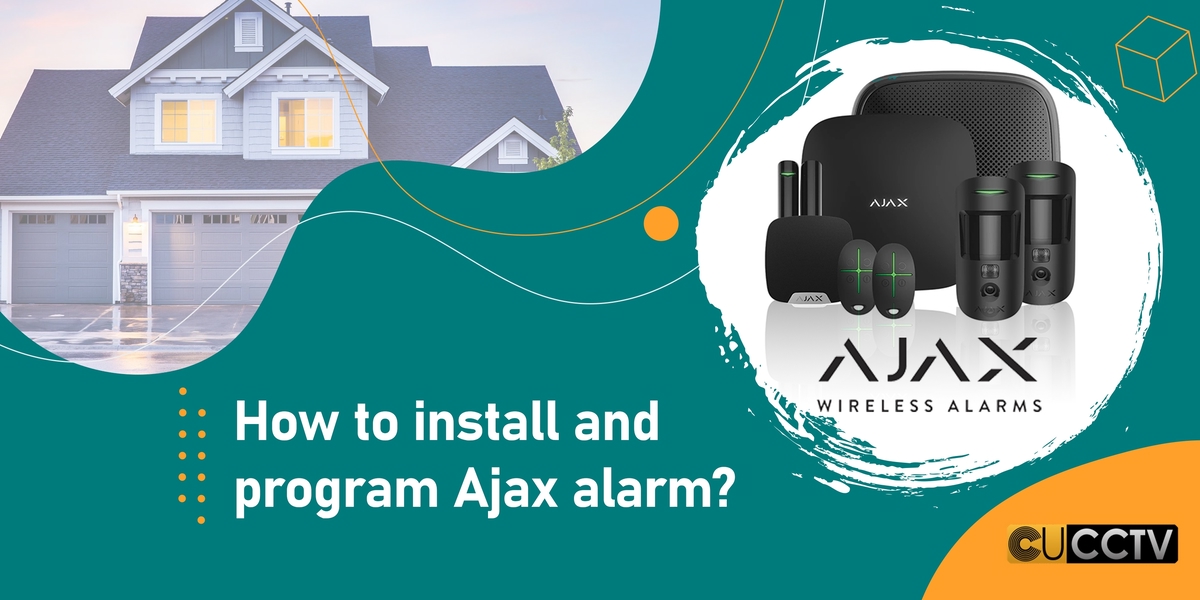
How to Install and Program My Ajax Alarm?

The Ajax alarm installation offers your self-managed alarm from your mobile, forgetting about monthly payments and the permanence of large companies. With an Ajax alarm, you can have your security system without having to pay fees or be linked to any specific company. However, being a system with a degree certificate it is always possible to connect it to a CRA (alarm reception centre).
Except for the switchboard (HUB) that is connected to the current and the router, the rest of the elements of the Ajax security system are wireless and easy to install, configure and use. All we need is a smartphone with Android/iOS to configure and manage the system and receive push alerts when there is an alarm in your home or business.
In this Ajax alarm system installation manual, we will describe how to configure the StarterKit of the Ajax alarm system step by step.
1. The Ajax Starter Kit Devices
Ajax alarm UK StarterKit Wireless Security System Basic Set includes the minimum package of components needed to set up a room. Its components are the following:
- The main control device of the system – Ajax Hub
- A wireless motion sensor – Ajax MotionProtect
- A wireless door/window sensor – Ajax DoorProtect
- Remote control to activate and control the entire Ajax SpaceControl system
The default ajax alarm kit contains accessories that allow all the components of the security system to be fixed to any surface, as well as installation and configuration instructions. All devices already have quality batteries pre-installed. Depending on the user’s taste, the alarm is supplied in two colours: black and white. For the convenience of users, in any product package, you will see a photo, name, specifications, and serial numbers in the form of an alphanumeric code, as well as a QR code to read on a smartphone.
2. How Do I Turn on Ajax HUB?
The Ajax wireless alarm kit is designed for self-installation and meets professional requirements. Ajax alarm installation will take no more than 15 minutes on average thanks to its detailed instructions and SmartBracket mounting brackets. Additional devices connect with a single click using QR codes printed on detector packages. By default, the system works on Ethernet with the ability to connect a separate GSM channel as an additional communication channel. The manufacturer recommends connecting both communication channels for reliability. The connection of the “brain” of the Ajax Hub security system is carried out using two cables: power and Ethernet.
- Move the cover from the back of the Ajax Hub and connect the hub to power and the internet router.
- Insert the Ajax alarm SIM card (it must be removed from the PIN code).
- Then turn on the Hub. The Ajax inscription lights up red. The first time you turn it on, Hub will automatically connect to the Internet and update its operating system. This may take some time (5-10 minutes).
- The activated green light on the front of the device confirms that the system is ready for use and that everything is in order.
3. Select the Locations
Further Ajax alarm UK setup is extremely simple and can be described in a couple of paragraphs. It takes more time to select the place to install the devices than the installation itself! Behind the sensors and the main panel, there is a removable panel – SmartBracket with holes for self-tapping screws. These holes are used for marking the wall and drilling, 2 to 4 holes. You can use, if necessary, the dowels from the kit. Fix the panel screws and fit the sensors on them. That’s it, no wires. Later, to perform maintenance, change batteries, replace the sensor, and simply remove it from the panel with light hand effort. Then the tamper notification (built-in protection) will work, and the phone will be notified that the sensor case is open. This is how to sabotage protection works, in which there are two types of Ajax alarm notifications:
- Normal notification that the sensor housing is open;
- Damage notification is when the whole body is broken and the device is opened.
All sensors allow the optimal location to be selected in “Detection Zone Test” mode. Special attention must be paid to the choice of the location of the central hub to achieve the maximum signal level of the wireless sensors. It is necessary to take into account the possible nuances of the room, connected with the detection and reflection of the signal. Now you can start configuring the system components.
4. Kit Configuration
Install the app on your mobile
Before proceeding with Ajax alarm installation, we need to install a specialized application on the smartphone or authorize it on the site. There you will register the Ajax Hub central alarm module. Links for downloading smartphone applications or authorization in the system can be found on the Ajax website or by going to the AppleStore/PlayMarket application store on the smartphone and typing “Ajax systems” in the search window.
Register the Ajax Hub and sensors
ATTENTION: In the registration process, enter your current phone number and your email address correctly; there you will receive an SMS and a notification with the registration confirmation codes. If something goes wrong, you can repeat the code request, but this will require a different phone number and email, so be careful.
After registering and logging in, the app will ask you to add the hub. You must enter the name of the HUB (any of your choice) and the serial number that you find on the label behind the device and the packaging. The connection of other sensors is the same: using the QR code that you will find on the back of the case and on the packaging, which greatly facilitates the adjustment of the system.
In this way, there is no need to enter a twenty-digit serial number since you can use the smartphone’s camera to read the application’s QR code that you will find on the back of each device and the flap of each box. By using QR codes, it is very easy to register any device to the HUB. As you can see, the manufacturer took care of everything by making the device connection process as easy as possible. After the registration of the AJAX HUB, a screen appears with the devices registered in the system, as well as the status of the HUB (“Disarmed”), the indication of the GSM link (on the screen it is clear that there is not), the battery charge. Also, you will be able to see the settings of each sensor and the button to add new sensors and icons to configure rooms, notifications, and controls.
If you click on the image of the HUB, you will see the information about the status of the device. There you can configure the HUB by clicking on the gear icon.
Close the lid. The notification is received immediately.
Now check the GSM connection settings to see if there is any connection missing problem. You must make sure that the card is active and has a balance. When you insert a SIM card into the HUB, the PIN must be removed.
Open the “Users” menu. By default, there is only one administrator and in the ajax alarm configurator it is clear that only the administrator will receive notifications from the application. Also, notification by SMS or call is disabled by default.
How to Add Users to Ajax Alarm
You can add additional users, for which you will use the email or contact information from the contact list. The application will send an invitation to the specified email to become a system user regarding the installation of the application to work with the security system.
Immediately after installing the Ajax alarm program and registering additional users in the system, you will see them in the list of app users. At the time of registration, each user must specify the email that you (the administrator) have sent in the invitation. In the list of users, you will see the contacts confirmed by the system. Now you can configure the notification methods by analogy with the previous configuration of the administrator account. All alert channels are available to the user, except for the alarm call; this option is only available to the system administrator.
The user in the application can see the status of the devices but does not have access to the settings. Up to 50 users can be assigned to a system, depending on the version of the operating system installed on the HUB. So, after Ajax alarm installation, add users and set up notifications about events in the system. Let’s move on to adding sensors to the system and adjusting them.
How to Add Sensors
First, go back to the desktop in the app and activate the “Rooms” icon, then “Add Room”. Type the name and, if necessary, add a photo. Save the data and adjust the parameters of the room:
- The input delay time (after how many seconds the trigger will elapse after detection)
- The exit delay time (to have time to put the system into alarm while you are in the room and then leave it without activating the signalling).
- Also, the partial assembly.
As a general rule, you can specify Hall, Bedroom, Corridor, and Kitchen, and set the delay time to 60 seconds. In total, up to 12 spaces (rooms) can be installed in the system, and up to 100 sensors of different types can be installed in them.
Does Ajax Work Without Internet?
When the Hub fails to communicate with the server (the Ajax logo lights red), the security system continues autonomous operation responding to all events, executing the enabled scripts, and activating the siren when applicable.
The events during the communication failure will be recorded in the Hub buffer and delivered to the Ajax applications when communication with the server is restored.
Since the Ajax applications communicate with the Hub via the server, you cannot operate the Hub via applications in the case of an Internet connection failure.
If the hub gets connected to a cellular network, it continues calling and sending SMS to users — if these notification methods are enabled.
What is Ajax Alarm Night Mode?
Night mode is an arming mode where the user only arms part of the detectors.
Night mode can work with opening and motion detectors. When adding a new listener, Ajax disables night mode by default. Activate Night Mode manually before going to bed, and don’t worry about someone sneaking in through the door or window while you sleep. With night mode activated, you can move freely around your home.
Conclusion
The ajax alarm system has everything you need to protect your home or business. Sensors with the most advanced technology control the interior movement, while the alarm centre connects them with the outside world. In this article, we provided a step-by-step Ajax alarm installation guide to help you secure your home or business more easily. You can check the Ajax alarm system price only available for trade users. We’re Ajax alarm suppliers in the UK that provide a range of ajax alarm systems with the best price for trade users.


